New mobile app features: Inbox and Scanner – Part 2

This blog post is part 2 of our latest mobile app features announcement. Part 1 introduced the Inbox. In this second part, we cover the Scanner.
Scanner overview
The new Scanner feature in the MyHeritage mobile app allows you to scan historical documents, as well as printed photos from old (or not-so-old) photo albums, easily and quickly. Whatever you scan in the app will be automatically uploaded to your family site on MyHeritage. Scanning documents and photos in the app preserves them in a digital form, protecting them from physical damage and backs them up online so that you won’t risk losing them. It also allows you to tag items with individuals in your family tree for more organized record keeping.
Accessing the Scanner
Navigate to the Scanner from the app’s main menu, under “Photos”.
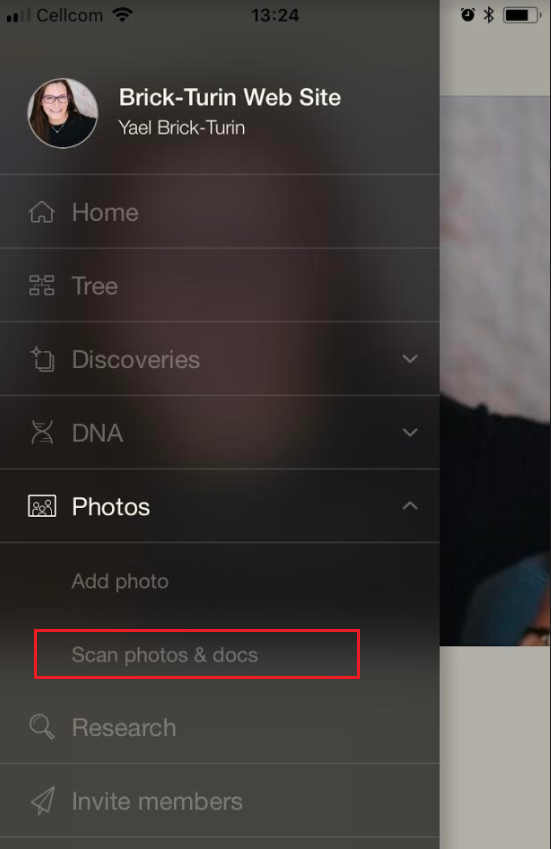
Tap on “Scan photos & docs” under “Photos” in the main menu to open the Scanner
You can also tap on “Photos” from the home screen of the app.
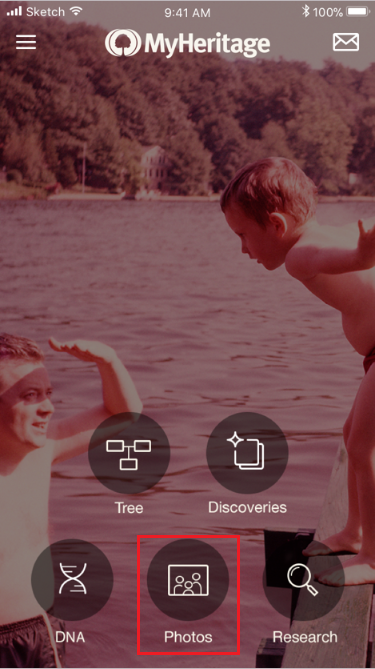
Tap on “Photos” on the home screen of the mobile app to open the Scanner
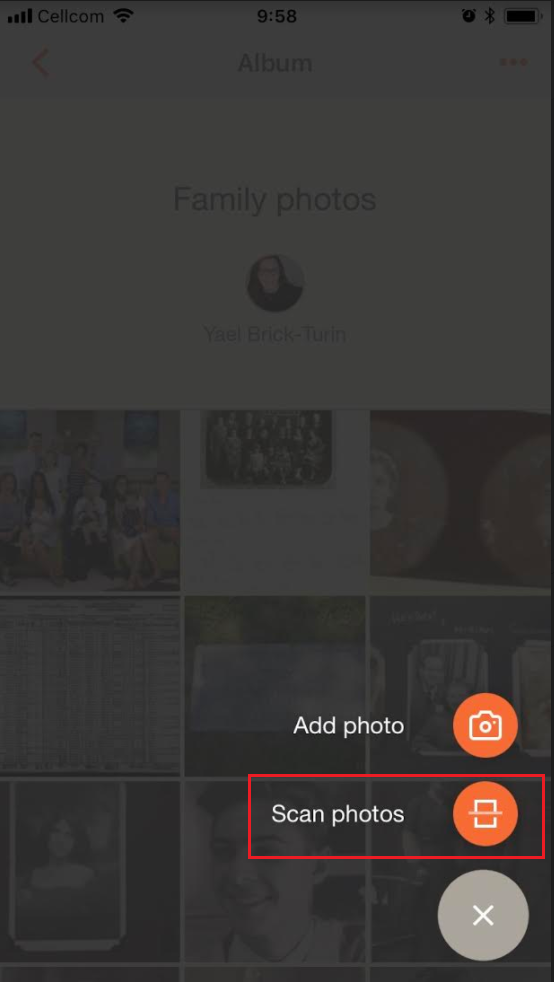
Then, once in the Photos section, tap the plus sign in the bottom corner.

Tap the plus sign in the Photos section to start scanning an image
Next, select “Scan photos”
The third way to open the Scanner is directly from a tree profile: tap on the profile; then tap the plus sign; and select “Scan photos”, as shown below.
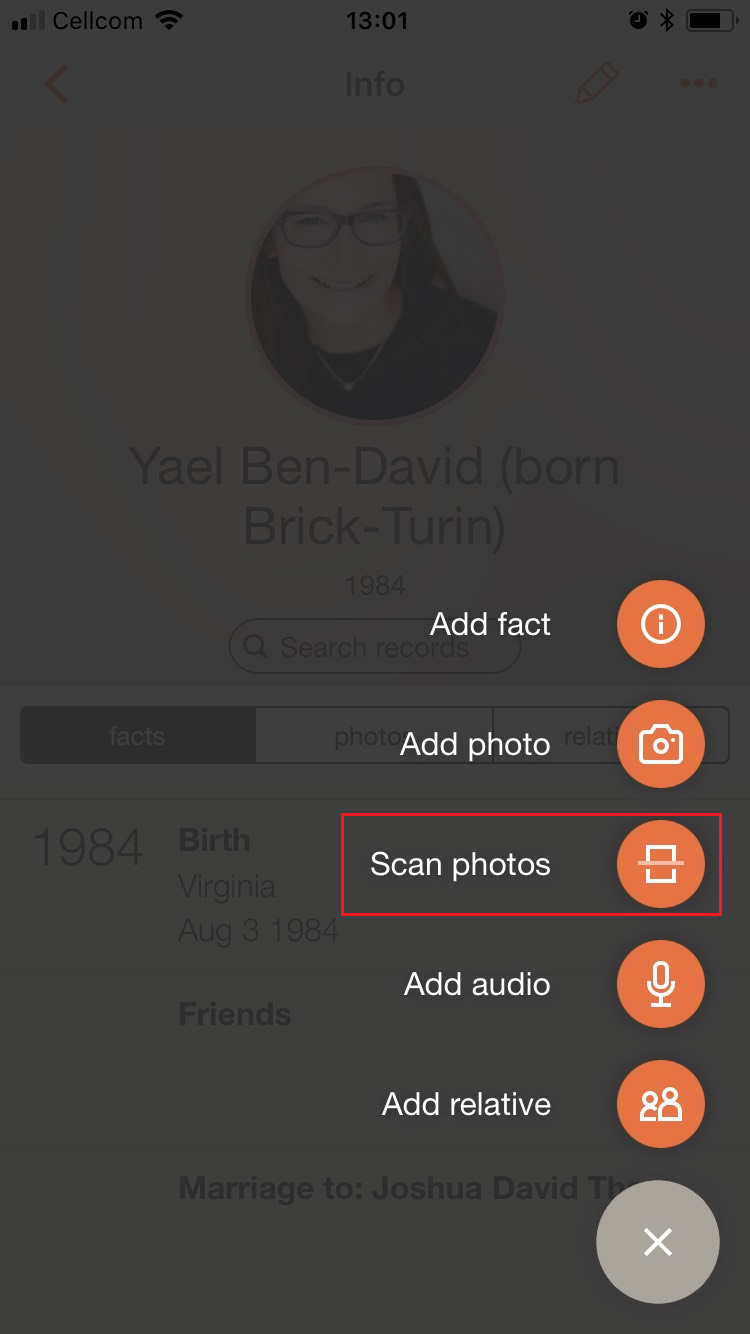
Scanning a photo from a tree profile
Using the Scanner
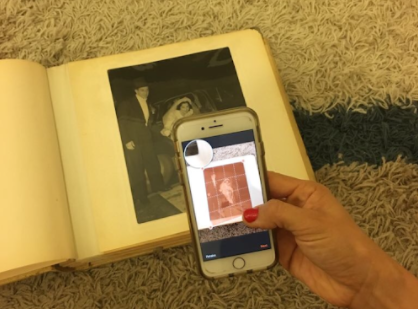
Once you’ve reached the main page of the Scanner, simply point and shoot as you would with your device’s native camera.

Point and shoot to scan a record or photo
The Scanner will show an orange mask over the photo or document it detected and will capture the image automatically if the frame is “stable”. You can also tap the capture button to capture the image manually. Tap on the lightning bolt icon in the upper left-hand corner to turn the flash on or off.
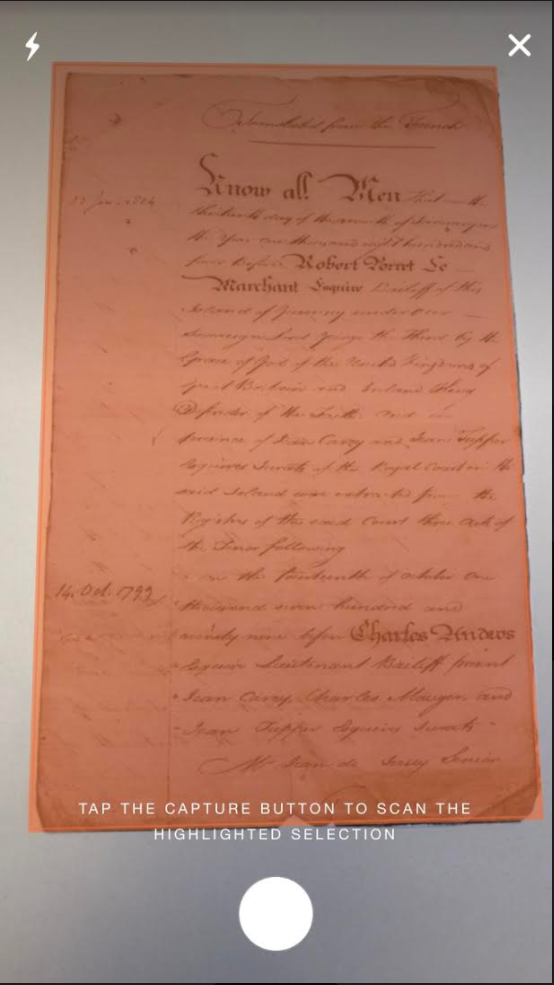
An orange mask over the photo or document shows the image it detected
The Scanner will attempt to detect the corners of your photo or document automatically. Press on any of the corners of the mask and drag them to make any desired adjustments, and to make sure the image will capture the item exactly the way you want. Crosshairs will appear to help you zoom in on the exact edges of the image.
Drag the corners of the orange mask to frame the image to capture it exactly as you want; crosshairs make it easier to frame the image precisely
When you are satisfied with the frame, tap “Next”. If you are not satisfied you can tap “Retake” and start again.
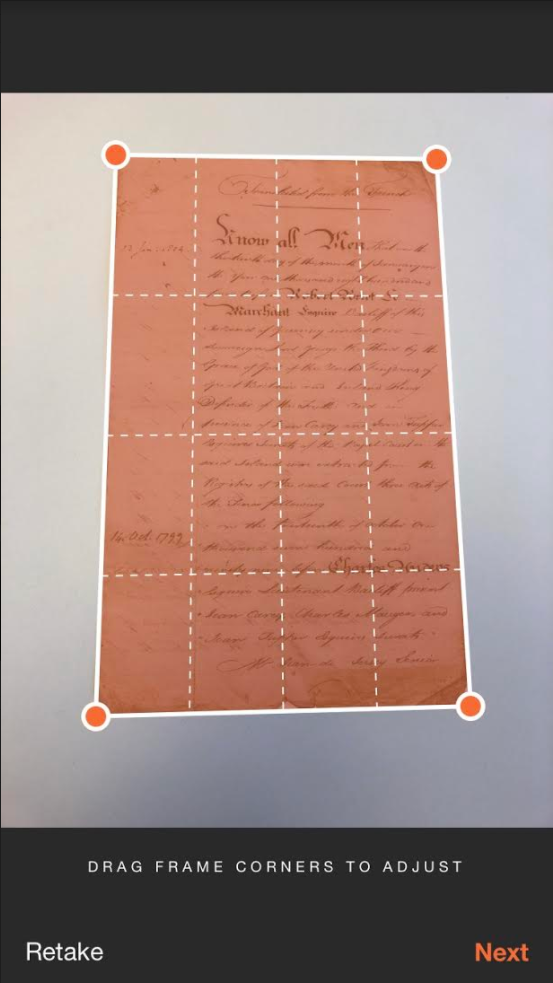
Once you’ve dragged the corners of the frame to where you want them, tap “Next”
The Scanner will automatically straighten out the object you’ve captured. Next, you can rotate the image or apply a filter using the icons at the bottom of the screen and tap “Save”.
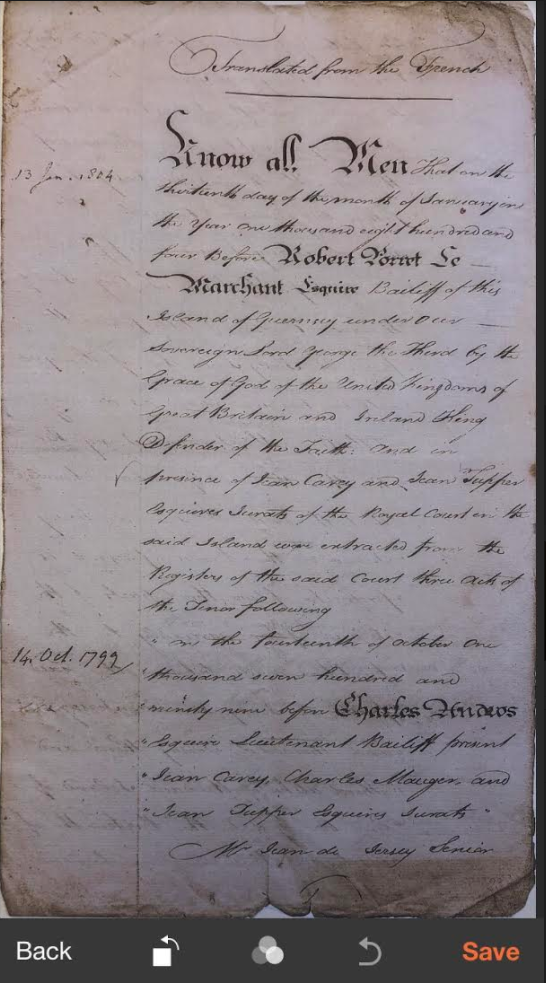
An image that has just been captured and automatically straightened out
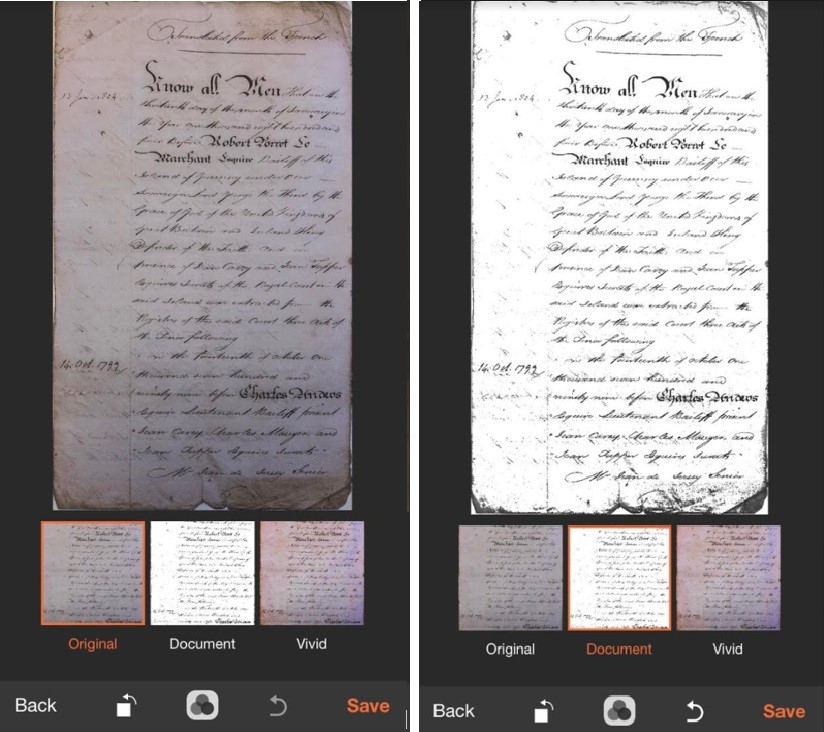
Use the “Document” filter to make images of documents more legible
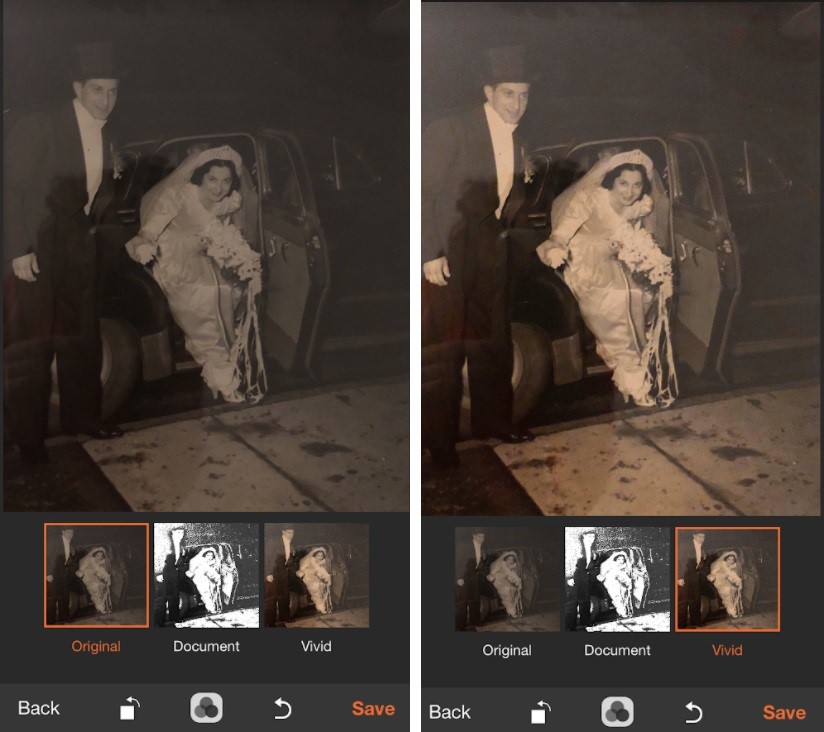
Use the “Vivid” filter to make photos look livelier
Tap on the left-most icon to rotate the image, if necessary. Tap the image in the center to apply a filter. Tap the right-most icon to revert any changes you have made. When you are satisfied with your image, tap “Save”.
After saving, you will automatically be prompted to tag the photo. If you ignore the prompt it will disappear after a few seconds. Tap “Tag photo” before it disappears if you want to tag right away; you can also tag later if you prefer.
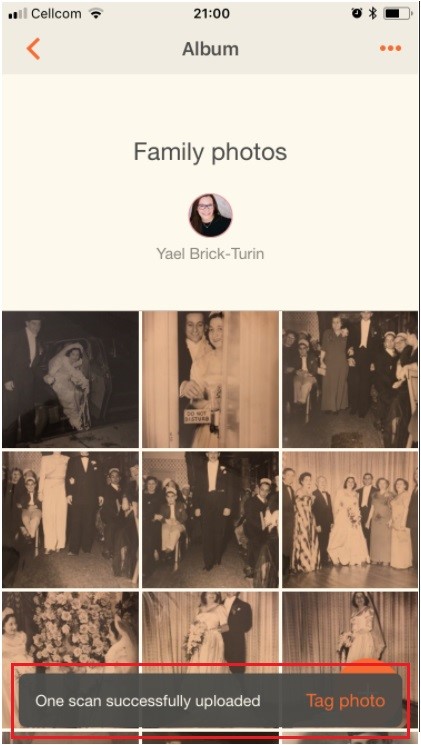
Tap “Tag photo” when prompted to tag the photo you just scanned
Many times, faces will be identified automatically by the MyHeritage app’s face detection feature. You can also tap manually on any face you would like to tag that was not detected automatically. Drag the corners of the frame to better fit the face in the image if you wish.

Drag the corners around the face of the individual you want to tag
In the search bar at the top of the screen, start entering the individual in your family tree that you would like to tag in the photo. A list will appear of relevant individuals. Select the right one.
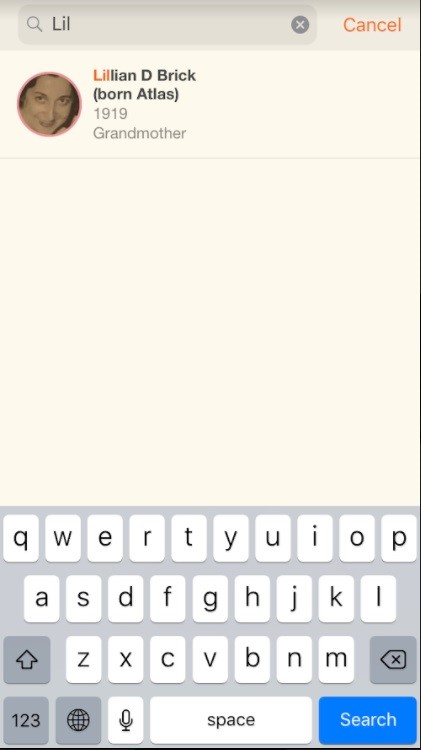
Start typing the individual’s name you want to tag and then select the right person from the list that appears
The tag (name) will then appear directly on the photo. Continue tagging additional individuals in the image, or tap “Save” to finish. You can also tag individuals in the image later, to associate it with their tree profiles. Simply tap on the “tag” icon in the upper right-hand corner of any photo in an album.
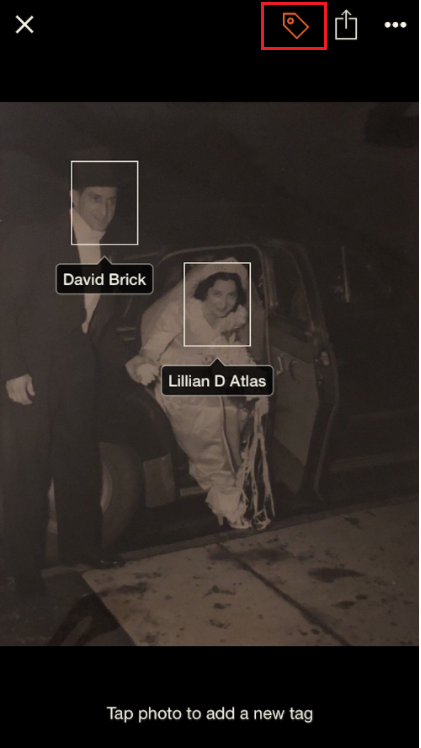
Tap the “tag” icon to tag additional people in the photo later
The image will then be saved to the photo album or profile in your family tree, from which you invoked the Scanner. To add additional meta data about the image you scanned, tap on the ellipsis (…) on the upper right-hand corner of the screen and select “Edit photo info” from the menu that appears.
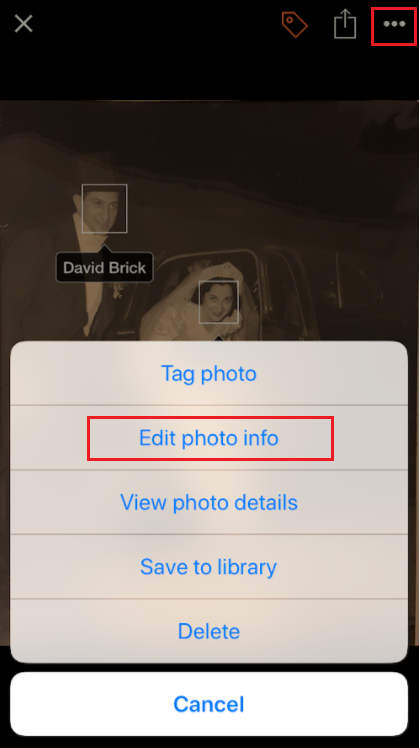
Add additional details about the photo: part 1
Fill in details about the photo, such as a title, date, place and description, and when you’re finished, tap “Save”.
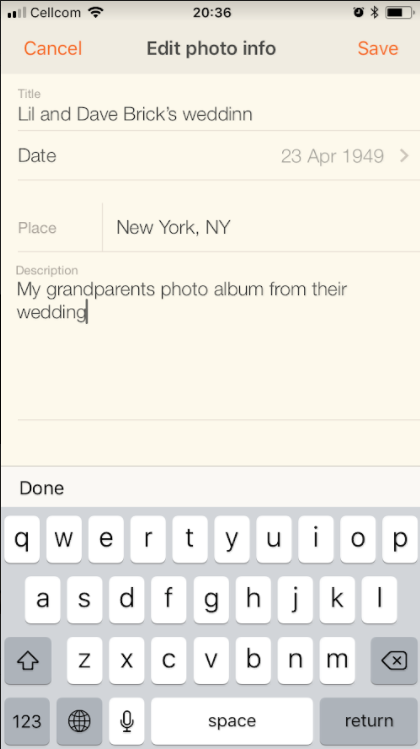
Add additional details about the photo: part 2
Repeat until you have scanned all of the documents and/or photos you want in the given album.

A complete album digitized lovingly to preserve it for future generations and kept in the context of your family tree
Summary
The new Scanner feature is ideal for scanning your old photos and documents. Many of us have precious and frail old family photo albums at home, waiting to be digitized, and fading away with every year that goes by. Now you can finally take care of that, over an upcoming weekend. Using the Scanner will upload everything to MyHeritage where you can easily associate the photos and documents with the relatives in your family tree in one go. Your precious content will be backed up, and will be less vulnerable to fire, flood or aging over time, once it is eternalized digitally.
If you don’t yet have the MyHeritage mobile app, get it now, it’s free.
Last but not least: Contest announcement
To celebrate the release of the new Scanner feature, we’re offering three lucky people the chance to win a free MyHeritage Complete subscription for one year! To win, send us a special photo or document that you scanned with the new feature. When viewing your scanned document or photo in the app, tap the “Share” icon and then choose your email app from the menu that appears.
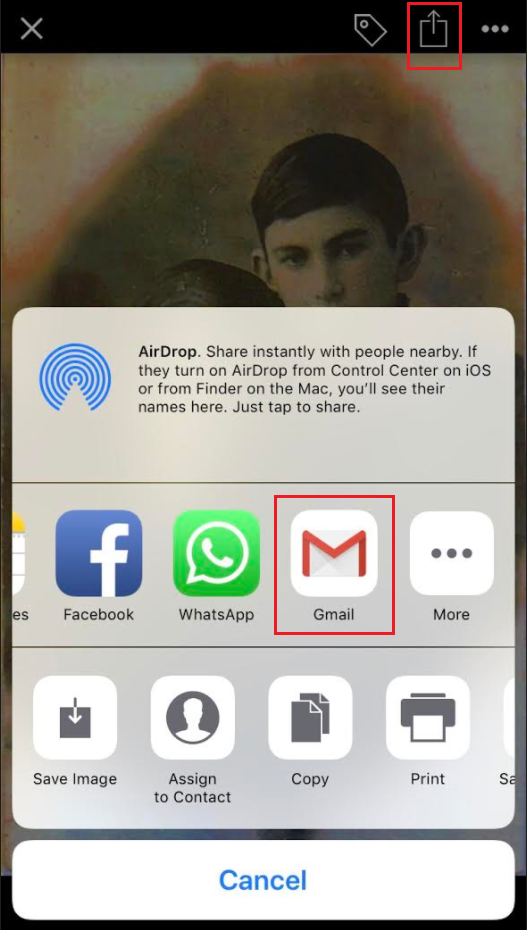
Share scanned records
Send your scanned item, and the story behind it, to stories@myheritage.com by April 6, 2018, for a chance to win. We’ll post the top entries on the blog.
Good luck!


Timothy Fletcher
April 23, 2018
Thank you for continuing to make MyHeritage my “go to” family site. My paper trail goes back many years and I am amazed at how much easier my search has become by using the mobile app in conjunction with the computer app. I have learned that every system must evolve and improve and that the tools and assistance available from MyHeritage have certainly made my life easier. Thank you for making me better at what I enjoy doing most.